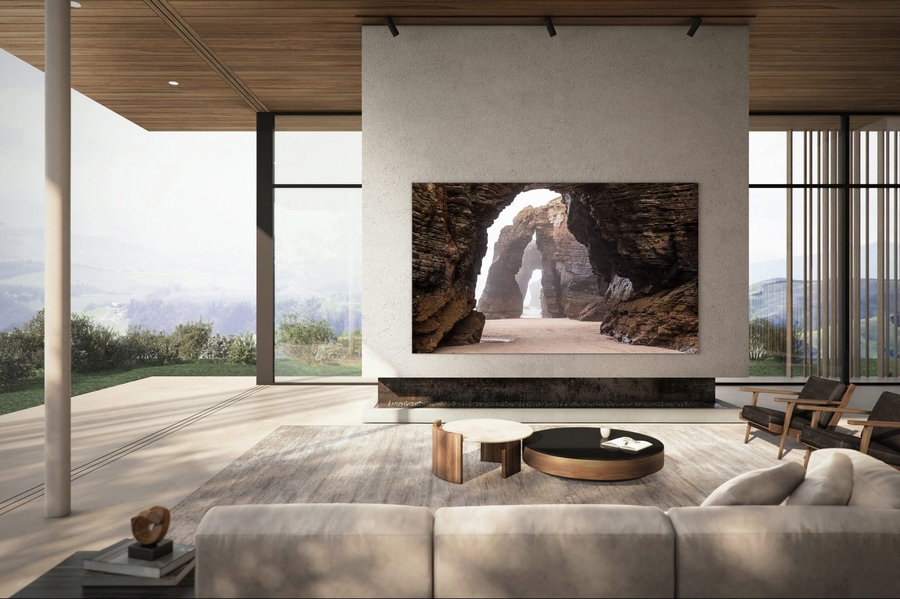
A luxury home theater looks simple once it's finished: dark room, big screen, comfortable seats. But a sleek design and immersive atmosphere only happens when the right decisions are made before drywall goes up.
If you wait until construction is finished to think through screen size, seating, or speaker placement, you may need to rework walls, wiring, and HVAC ductwork that should have been planned from the start. That’s why we recommend architects and home builders loop in a home theater company like Wipliance before it’s too late—the decisions you make before breaking ground matter the most.
Screen, Sightlines, and Seating
Screen size dictates seating distance, and seating distance dictates screen size. Get one wrong, and you throw off the other. A theater built around a 120-inch screen needs enough distance for every seat to avoid eye strain, and every seat needs a clear sightline to the screen with nothing in the way, like a support beam or the front row seats.
Sightlines also depend on riser height. Stadium seating solves the problem of someone's head blocking the view, but risers need to be planned into the framing, not bolted on as an afterthought.
Speaker Placement and Acoustic Treatments
Surround sound only works when speakers sit where the room supports them. Front channels need to align with the screen. Surrounds need side or rear placement that matches your seating layout. If you're adding overhead channels, that's ceiling framing and wiring that has to happen before the drywall closes the space off.
Acoustic treatment matters just as much as speaker count. A room with bare walls and a flat, hard ceiling bounces sound around, muddying dialogue and blurring bass. Absorption panels and diffusers correct this, but they work best when the room's dimensions and hard surfaces are considered during design, not patched in later with something you found online.
Lighting, HVAC Noise, and Equipment Racks
A few decisions often get overlooked until they cause problems on movie night:
- Lighting control – Pathway lights and dimmable fixtures need low-voltage wiring run before insulation goes in
- HVAC noise – A theater needs quiet airflow, which often means oversized ductwork or a dedicated mini-split, and not the same vent serving the rest of the house
- Equipment rack location – Receivers and processors generate heat and need ventilation, ideally in a closet nearby, not crammed behind the screen
- Cable runs – Every speaker, panel, and rack needs conduit planned before walls close up
- Door seals – A theater door needs weatherstripping to keep sound in and light out
Projector vs. LED Wall, and Room to Grow
Projectors need throw distance and light control. An LED wall needs a flat mounting surface and enough electrical capacity, but it holds up better in rooms with ambient light. The right choice depends on your room's shape and how you plan to use it, not just personal preference.
Whatever you choose, build in room for what's next. Conduit for future speaker channels, extra electrical capacity, and a rack with open slots cost far less to install now than to add after the room is finished.
Let's Design It Right From the Start
Any homeowner building a theater faces these same decisions. Wipliance walks through each one with you before construction begins, so your theater gets built once, the right way.
We design and install custom home theaters across Arizona, Washington, Idaho, and beyond. Reach out here to start the conversation.