Common Recessed Lighting Mistakes (And How to Avoid Them in Your Home)
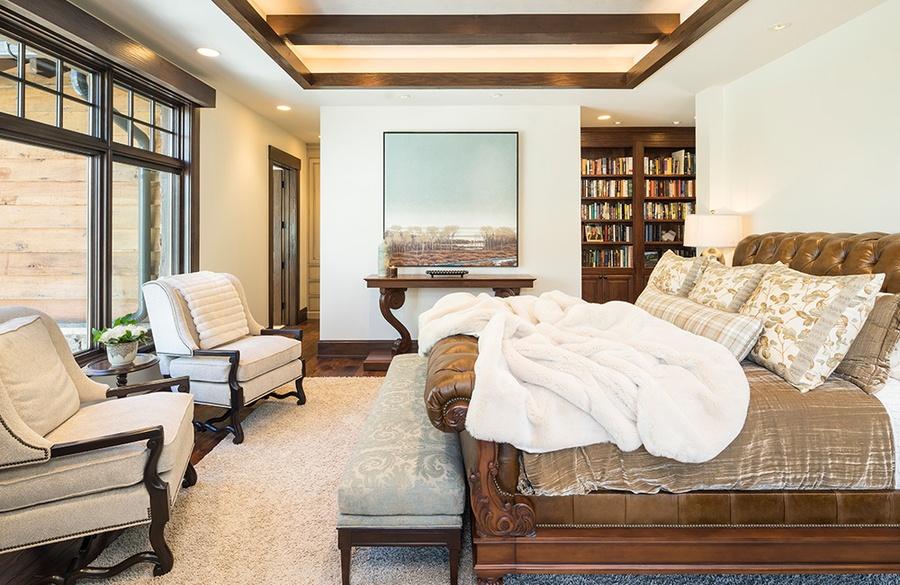
Recessed fixtures offer a clean, modern look—but only when done right. In this guide to common recessed lighting mistakes, we’ll walk through eight installation and design errors homeowners make, and show how a professional lighting design company can correct them. Whether you’re remodeling a kitchen lighting plan or updating your living room, understanding how spacing, lighting controls, and fixture choice affect your space will ensure you enjoy beautiful, functional illumination. You’ll learn how to fix brightness, placement, and design issues—step by step.
SEE ALSO: The Architect’s Guide to Using Ketra Lighting in Home Designs
1. The Trims Don’t Match Your Ceiling
When your trims contrast sharply with painted drywall, you end up staring at metal rings instead of enjoying a seamless surface. Trim choice isn’t just about style—it’s about ceiling continuity, glare control, and paint matching. High‑end brands, such as DMF Lighting and Ketra offer wide ranges of options for every finish. From flush baffle bezels to decorative rings, selecting the right light fixture trim helps your recessed lights vanish into the plane. Opt for matte finishes in true paint‑matched tones to prevent reflections and preserve that clean, minimalist aesthetic.
2. Lights Are Too Bright
Overly intense fixtures can wash out wall art, create harsh shadows, and lead to eye strain. To strike the right balance, focus on color temperature, brightness levels, and layered schemes. Use warm‑dimming LED lighting modules with lighting controls—a smart wall keypad or app‑based dimmer—to shift from cool, bright output for cleaning tasks to cozy, amber‑tinted beams for movie nights. Integrating ambient lighting versus task lighting ensures you have both general illumination and targeted beams where you need them most. Even a single recessed light with adjustable CCT (correlated color temperature) can transform a space from clinical white to inviting warmth.
3. The Atmosphere Falls Flat
A ceiling studded uniformly with cans can feel uninspiring. Instead, think like a gallery curator: direct accent lighting toward architectural features, artwork, or shelving niches. Vary beam angles and mix in wall‑washers to create depth. Proper lighting fixture spacing—no more than 4–5 feet apart in living areas—helps avoid dark pockets while maintaining visual interest. By layering recessed plus track or wall‑mounted fixtures, you transform a flat plane into a dynamic stage, where each beam of light draws the eye.
4. Poor Fixture Spacing
Too few fixtures leave shadows; too many create glare. Every room layout and ceiling height demands a tailored plan. As a rule of thumb, divide your ceiling height by two to determine center‑to‑center spacing in feet (e.g., 8 ft ceilings = 4 ft spacing). Adjust based on furniture placement and traffic flow. A living room with sectional seating may need narrower gaps, whereas hallways can tolerate wider arrays. Proper recessed lights spacing guarantees even coverage without overkill.
5. Ignoring Ceiling Height
A one‑size‑fits‑all approach never works. Low ceilings can amplify glare, while high vaults dilute output. For ceilings under 8 feet, choose fixtures with wide beam angles (60°– 90°) and low lumen output. In 10‑ to 12‑foot rooms, tighter 30°– 40° beams maintain brightness at floor level. Don’t forget to factor in reflector finishes: baffle trims reduce glare in shallow ceilings, whereas reflective trims boost throw in tall spaces. This consideration keeps light distribution consistent, comfortable, and tailored to your home’s proportions.
6. Overusing Recessed Lights in the Wrong Areas
Cans are versatile, but they shouldn’t be your only source. Bedrooms and living rooms benefit from a mix of pendant light fixtures, sconces, and table lamps. Too many cans can create an over‑lit, sterile feel. Incorporate table lamps or wall washers for softer pools of ambient light. In kitchen lighting, rely on under‑cabinet strips for countertop tasks and reserve cans for overall wash. Blending sources makes rooms feel inviting and layered.
7. Using the Wrong Trim or Bulb Type
Shiny trims might induce glare; shallow trims can distort beam angles. Likewise, non‑dimmable modules limit your control. Select trims and bulbs that match your goal—be it a focused task light beam over a desk or gentle ambient lighting in a lounge. Choose LED modules with high CRI for accurate color rendering and pair with compatible dimmers. A small change—from a matte baffle trim to a reflect‑coated cone—can drastically improve glare control and light spread.
8. Forgetting Dimmers or Lighting Zones
On/off switches are a thing of the past. Today’s smart homes use scene‑based zones—kitchen, living, bedroom—that adapt to daily routines. Incorporate dimmers, timers, and room‑specific keypads to shift from bright prep settings to soft evening scenes. Not only does this add convenience, it extends lamp life and reduces energy use. Proper zoning turns simple cans into an interactive, mood‑enhancing system.
Avoid These Kitchen Lighting Mistakes
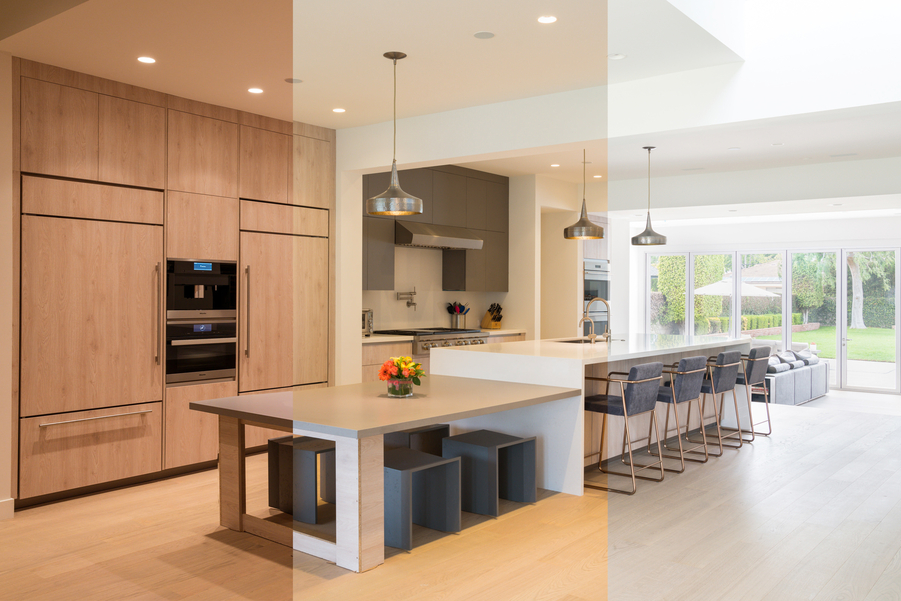
Kitchens demand both functionality and style. Neglecting under‑cabinet kitchen lighting strips can leave countertops in shadow, while over‑relying on ceiling cans creates unflattering glare on glossy surfaces. A balanced approach pairs recessed cans for overall wash, targeted pendants above islands, and strip lights under cabinets. Remember to install each light bulb in the correct trim: use clear lenses for brighter spreads over prep zones and frosted lenses for softer seating areas. This trio ensures safe prep areas and highlights design details without harsh contrasts or Swiss‑cheese ceilings.
Selecting the Right Bulb
Choosing the right LED light is critical. Look for ENERGY STAR®‑rated modules with at least 90 CRI to render colors accurately—essential for kitchens and art walls alike. Match your bulb’s lumen output to the fixture: a low‑profile 2″ aperture might need only 600 lumens, whereas a 4″ can handle 1,200 lm. Pay attention to beam angle: 35° for accent work, 60° for general wash. And never overlook dimmability—non‑dimmable lamps are one of the top lighting mistakes DIYers make.
Mixing Light Sources
No single series of cans can meet every need. Combine recessed fixtures with track heads, wall sconces, and a pendant light or two over dining nooks. This layering not only adds style but also optimizes each space for its function: bright, even lighting for tasks; spot beams for displays; and warm, low‑voltage lamps for ambiance. Mixing sources helps you avoid over‑lit or under‑lit zones and creates a home that feels balanced day and night.
Why DIY Layouts Often Fail
Even skilled DIYers can overlook room‑specific needs, paint undertones, or proper beam angles. A poorly planned layout risks lighting mistakes like glare, uneven spreads, and wasted energy. By contrast, a professional recessed lighting specialist evaluates ceiling height, room function, paint color, and furniture placement to develop a cohesive plan. The result? Beautiful, efficient, and glare‑free illumination.
Trust the Professionals
Avoiding these lighting mistakes means more than buying the right fixtures—it’s about thoughtful design, precise placement, and modern controls. Wipliance, a professional lighting design company, specializes in luxury recessed solutions. From selecting the perfect light bulb and trim to programming intuitive dimming scenes, our team ensures your installation enhances every corner of your home. Ready to transform your space with high-end fixtures like DMF lighting? Contact Wipliance today and discover how expert design and advanced recessed lights technology come together to create stunning, functional interiors.

